In such a bag it is convenient to store shoes or take them on trips.

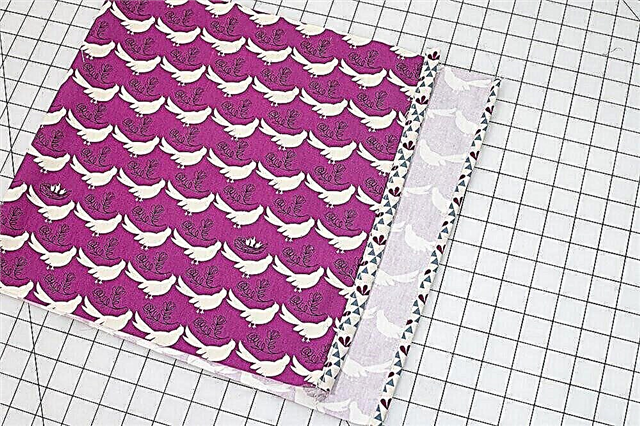
Such a bag can be sewn from thick cotton, linen, and synthetic fabric. You can choose the sizes that you need, or use the sizes from this workshop. You can sew a bag of fabric of one type or take two, one for decoration.

For example, in the photo above - three bags stitched according to one principle: small, 13x10 cm, for small items, medium, 33x22 cm, suitable for a pair of women's shoes, and larger, 43x25 cm, for a pair of men's shoes.
How to make an organizer box in a closet: a master class
You will need:
- fabric for the bag (you can use two types of fabric, the second - for decoration);
- zipper;
- scissors for fabric;
- ruler;
- chalk or marker for tissue;
- tailor pins;
- iron and ironing board;
- sewing machine and thread.
DIY travel organizer
Step 1

Cut out the details (the first is the size for a medium-sized bag, in brackets - for large and small, respectively):
- 1 main part from the main fabric 35.5x76 cm (46x91.5 cm; 15x30 cm);
- 2 planks of additional fabric 35.5x6.5 cm (46x6.5; 15x6.5);
- 1 part of a loop from an additional fabric of 7.5x20 cm (7.5x20; 6.5x15).
Step 2

Fold the details of the slats in half along the wrong side inside and iron.

Place the main part upside down. Lay the bar on the short side of the rectangle so that the raw cuts match.Secure with pins. Stitch the bar back from the edge of 0.7 cm. Repeat with the second bar.

Unscrew the bar for allowance and iron. Then unscrew the bar on the front side of the main part and iron again. Repeat with the second bar.

Stitch the trims to the edge.
Step 3


Open the zipper and stitch it to the planks, as shown in the photo. Lightning should connect the main part into a ring.

If, as in our case, the ends of the zipper were cut, fasten them with several stitches manually or on a typewriter.
Step 4

Fold the loop detail four times, as shown in the left photo, and iron. Along the long edges, lay two lines, departing from the edges of 0.2 cm.

Attach the part to the slats to form a loop, and secure with pins.

Turn the bag inside out and fold it in half, as shown in the photo. Lightning should be on one of the bends. Mark the opposite fold to mark the middle of the bag.

Now fold the bag in half so that the zipper is in the middle and aligns with the mark.

Fold the bag's edge as shown in the photo. The fold should be next to the zipper and run parallel to it. Secure with pins.

Repeat with the second edge.

Sew the stitches by stitching the short sides of the bag. Allowances - 0.7 cm.

Zigzag seam allowances.

Done!
Photo and source: sewcanshe.com
Organizer basket made of felt and fabric in half an hour
Storage ideas: organizers for every occasion and taste
Organizer for underwear